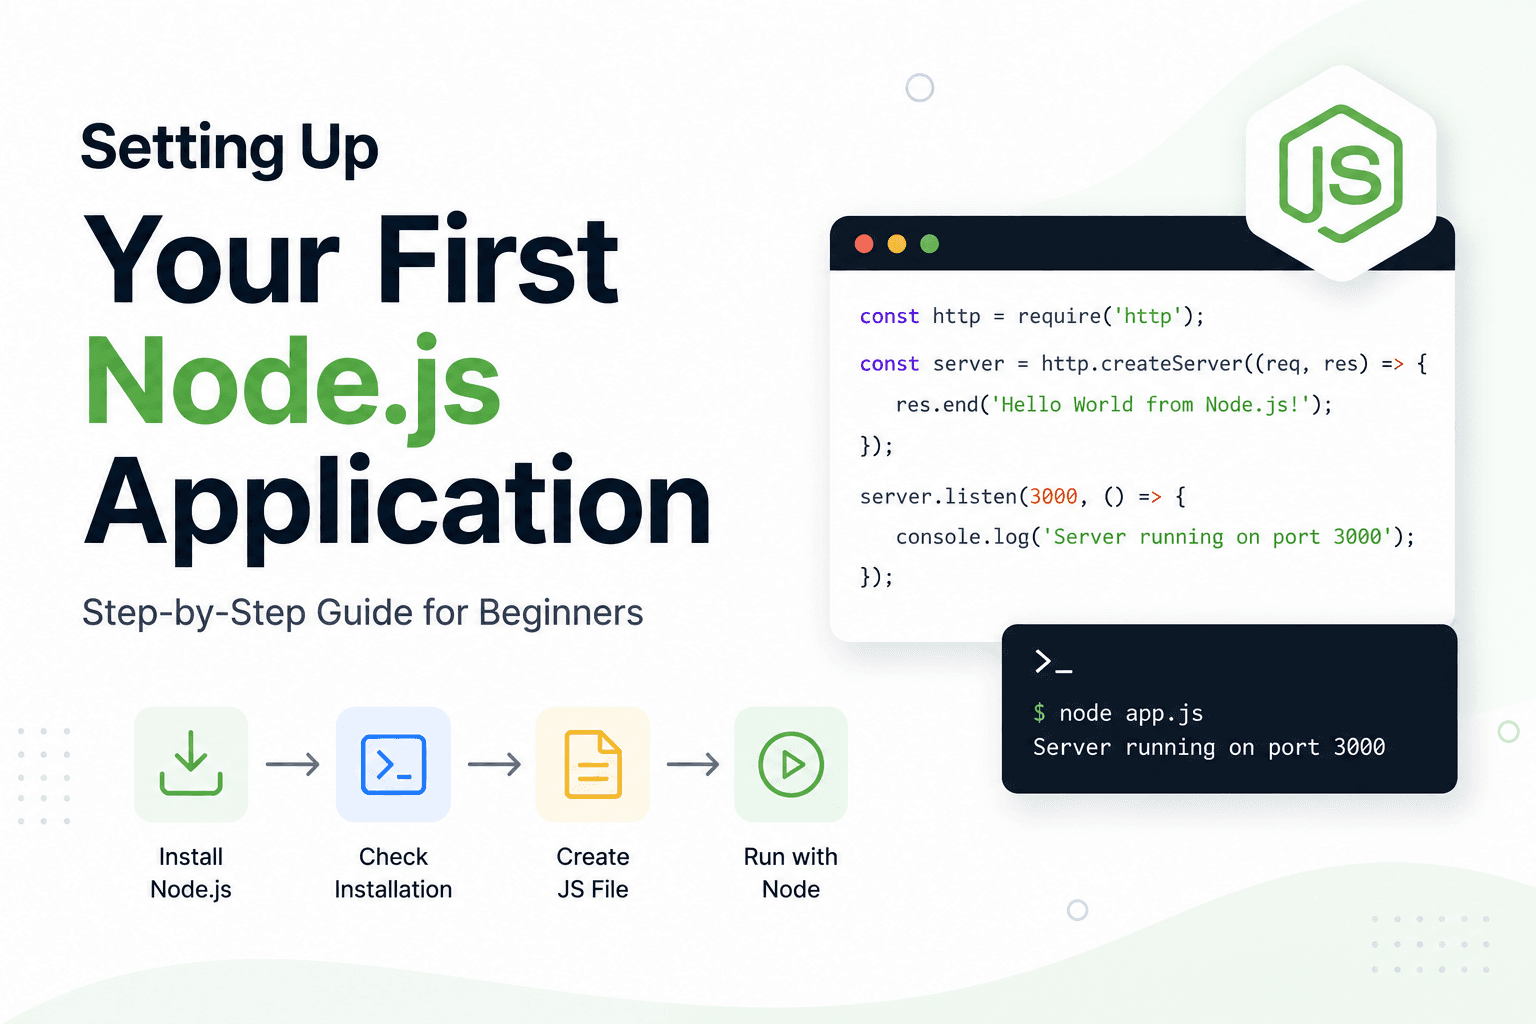
Setting Up Your First Node.js Application Step-by-Step
How to start with Nodejs.
If you are starting your backend journey with Node.js, then one of the very first things you’ll need to do is properly set up Node.js on your system and run your first application. Initially, this process may look slightly confusing because terms like runtime, terminal, REPL, and server start appearing together. But honestly, once you go through the setup once, things become very straightforward.
In this blog, we’ll install Node.js, verify the installation from the terminal, understand what the Node REPL actually is, create our very first JavaScript file, execute it using Node.js, and finally build a simple Hello World server. The idea here is not to jump into frameworks or advanced backend concepts immediately, but to properly understand the absolute basics first because this setup becomes the foundation for almost everything you’ll build later using Node.js.
What Exactly is Node.js?
Before installing Node.js, it is important to understand what it actually is. Node.js is a JavaScript runtime environment that allows us to run JavaScript outside the browser. Normally, JavaScript executes inside browsers like Chrome or Firefox, but Node.js allows JavaScript to run directly on your machine.
This is what made JavaScript extremely powerful for backend development because now developers could use the same language for both frontend and backend applications. Node.js internally uses Google Chrome’s V8 JavaScript engine for executing JavaScript code very efficiently.
Installing Node.js
Installing Node.js is fairly simple. You just need to visit the official Node.js website and download the installer according to your operating system. Once the installer downloads, you can proceed with the default installation steps normally without changing much.
While installing, Node.js also installs npm automatically. npm stands for
Node Package Manager and it helps us install libraries and packages later while building applications.
After the installation completes, the next step is verifying whether Node.js was installed correctly or not.
Checking Node.js Installation from Terminal
To verify the installation, open your terminal or command prompt and run:
node -v
If Node.js was installed correctly, you’ll see a version number printed on the screen. Something like:
v22.0.0
You can also check the npm version using:
npm -v
Again, this should print the installed npm version.
If both commands work successfully, then your Node.js setup is ready and you can start executing JavaScript using Node.js.
Understanding the Node REPL
Before creating our first file, there’s one important thing worth understanding called the REPL.
REPL stands for Read, Evaluate, Print, Loop.
It is basically an interactive environment where Node.js executes JavaScript code line by line directly from the terminal. This becomes very useful for quickly testing small snippets without creating separate files every time.
To start the Node REPL, simply type:
node
After running this command, you’ll enter the Node.js interactive environment.
Now you can directly execute JavaScript like this:
console.log("Hello from REPL");
Output:
Hello from REPL
You can even perform calculations:
10 + 20
Output:
30
The REPL is mainly useful for testing things quickly while learning or debugging. To exit the REPL, you can type:
.exit
or simply press Ctrl + C twice.
Creating Your First JavaScript File
Now let’s create our very first Node.js file.
Create a folder anywhere on your system and inside that folder create a file named:
app.js
Inside this file, write:
console.log("Hello World from Node.js");
This is a very basic JavaScript file, but now instead of running it inside a browser, we’ll execute it using Node.js directly from the terminal.
Running Your First Node.js Script
Now open the terminal inside the same folder where your file exists and run:
node app.js
Output:
Hello World from Node.js
This is officially your first Node.js application running successfully.
What actually happened here is that Node.js took your JavaScript file, passed it to the V8 engine, executed the code, and displayed the output in the terminal.
Understanding the Execution Flow
Whenever you run:
node app.js
a simple flow happens internally.
Node.js reads the file
The V8 engine compiles the JavaScript
The code gets executed
Output appears in the terminal
This is the basic execution flow behind every Node.js application, whether it is a tiny script or a massive backend server.
Writing Your First Hello World Server
Now let’s create a very small server using Node.js. This is usually the point where people start feeling excited because now JavaScript is actually creating backend servers.
Replace the previous code inside app.js with this:
const http = require("http");

const server = http.createServer((req, res) => {
  res.end("Hello World from Server");
});

server.listen(3000, () => {
  console.log("Server running on port 3000");
});
Now run the file again:
node app.js
Output:
Server running on port 3000
At this point, your Node.js server is actually running.
Now open your browser and visit:
http://localhost:3000
You’ll see:
Hello World from Server
This is your first backend server running successfully using Node.js.
Understanding What Happened in the Server Code
The http module used here is a built-in Node.js module that helps create servers. We used createServer() to create a server instance and passed a callback function that executes whenever a client sends a request to the server.
Inside that callback, res.end() sends the response back to the client. Then server.listen() starts the server on port 3000 so the application becomes accessible through the browser.
Even though the code is small, this is the starting point for almost every backend application built using Node.js.
Final Thoughts
Setting up Node.js and running the first application is an important step because this is where backend development with JavaScript actually begins. Initially, terms like runtime, REPL, server, and terminal may feel slightly unfamiliar, but once you execute your first few programs, things start becoming much more comfortable.
In this blog, we installed Node.js, verified the installation using terminal commands, understood the REPL environment, created our first JavaScript file, executed it using Node.js, and finally built a small Hello World server. These may look like simple steps, but they form the foundation for everything you’ll build later using Node.js, whether it’s APIs, authentication systems, databases, or full backend applications.